Since this Unicorn Cake was one of my most popular creations of mine on Instagram and you asked me to tell the story behind it... I have no choice :))) I've created a little guide for you if you ever planned to make a Unicorn cake, you can start the project with this post.
The key to success for me... is the Wilton Color Right System. #notsponsored
I'm simply satisfied with this product and so happy that I've bought this instead of anything else. I've found it randomly on the internet, and when I've decided to order edible food colouring for the first time, this seemed the best option and now I can 100% approve this, because I used it a couple of times: for colouring icing and I'm painting on edible surfaces with the gel itself too, it works like a normal paint for an artist.
The main benefits to using this system are the following in my opinion:
- You get a fantastic guide with the system and online a colour chart, which tells you exactly how many drops of gel you need from each colour to get the desired result. So if you're not Picasso who knows exactly how to mix different colours to get a specific one or you don't wanna buy 100 different colours and shades of gel food colouring because of the same reason... this is the right choice!
- It will give a smooth result, all parts of the gel will be mixed evenly in the buttercream.
- It won't add any weird taste to your icing.
I really wanna see your creations so if you got some inspiration after this post, even if you just try these piping tricks on muffins or so, show me the result!
Ingredients
For 3 sponge layers (15 cm)
- 6 eggs
- 9 tbsp sugar
- 11 tbsp flour
- 3 tbsp water
- 2 tsp baking powder
Buttercream icing - stiff consistency
- 500 g butter, softened - if you don't bother if it's a bit yellowish
- OR: 250 g butter + 250 g vegetable shortening for the more light result
- 1000 g sifted icing sugar
- 3 tsp vanilla extract
- Wilton Color Right System for colouring
Other
- Marzipan or fondant
- Edible gold spray or edible gold food colouring
- White chocolate stars
- Grill stick
Instructions
Sponge - in general
- Separate the eggs.
- Whip the yolks with the sugar by a hand mixer till you get pastel yellow colour.
- Add the water and mix again.
- Whip the egg whites till you get a firm foam texture.
- Sift and incorporate the flour and baking powder into the egg yolk mixture.
- Fold in the egg white foam.
- Add the food colouring.*
- Bake it in the preheated oven, at 180 °C till it passes the 'toothpick test'.
Colourful sponge layers *
I created three equal portions from the batter, then added food colouring to each portion. I've used the following colours from Wilton Color Right System:
- Teal from 'Bright & Bold' palette
- Pink from 'Neon' palette
- Purple from 'Spring' palette
Colourful buttercream icing
I've followed the attached chart in Wilton Color Right System to get the following vibrant colours on the cake:
- Teal from 'Bright & Bold' palette
- Pink from 'Neon' palette
- Purple from 'Spring' palette
- Green from 'Pastel' palette
- Deep blue from 'Winter' palette
Numbers of the open star piping tips (Wilton)
- # 1M for the big rainbow swirls (Teal, Pink, Purple, Deep blue)
- # 32 Green
- # 18 Teal, Pink
- # 16 Purple

Assembly
- I've filled the sponge layers with red cherry filling and buttercream this time, but it's absolutely optional, so use the filling you prefer.
- When the layers were on each other I've covered the cake with buttercream and put it into the fridge for a few hours till the buttercream is set.
- In the meantime:
- I've formed the horn: roll the marzipan around the grill stick and spray it with the edible gold spray.
- Created the ears: cut 2 bigger and 2 smaller waterdrop shapes from the rolled marzipan and sprayed the smaller ones with the edible gold spray and formed the ears around toothpicks.
- I've formed tiny marzipan pieces for the eyes and sprayed them too with the edible gold spray.
- I've coloured the different amounts of buttercream portions, filled them into piping bags.
- I think the only special one is the rainbow swirl, so I explain the method I've created: I've opened the piping bag and by a small angled spatula I've added small amounts from different colours of buttercream, like flower petals next to each other on the side of the bag (teal, pink, purple, deep blue). This way you can get all colours at the same time while you are piping the icing to the cake. You can play with the amounts and the positions too.
- When the cake was ready to decorate, I've placed the horn, ears and eyes in the right place.
- I've started to use piping bags. First of all, I've applied the big rainbow swirls, then filled the smaller gaps with the smaller buttercream shapes.
- Finally, I've added the white chocolate stars.
For me this is the best therapy against stress because I can get lost in these beautiful details and the only thing in focus: is my cake! :)

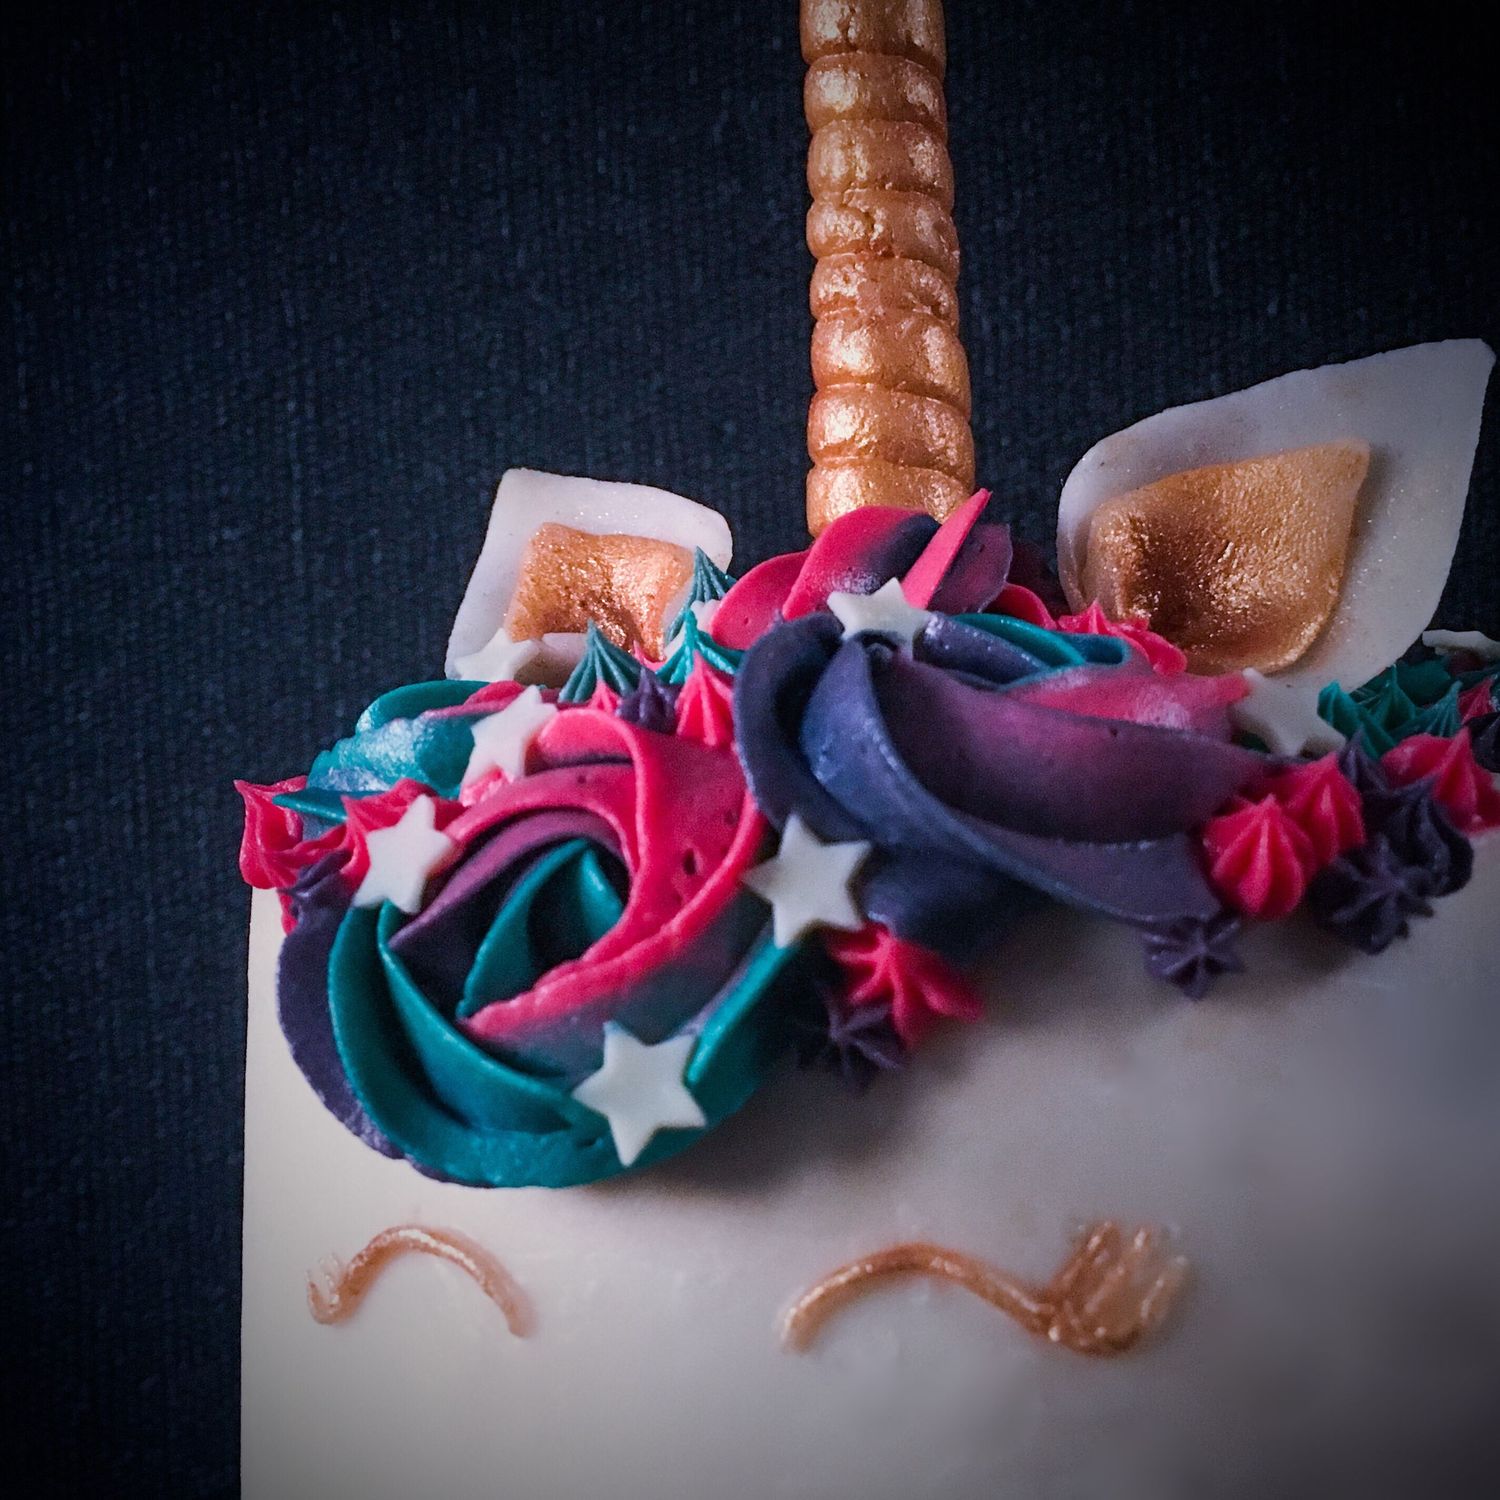
Unicorn Cake Front - Photo by © Reka Csulak

Unicorn Cake Back - Photo by © Reka Csulak

Unicorn Cake Slice - Photo by © Reka Csulak


