
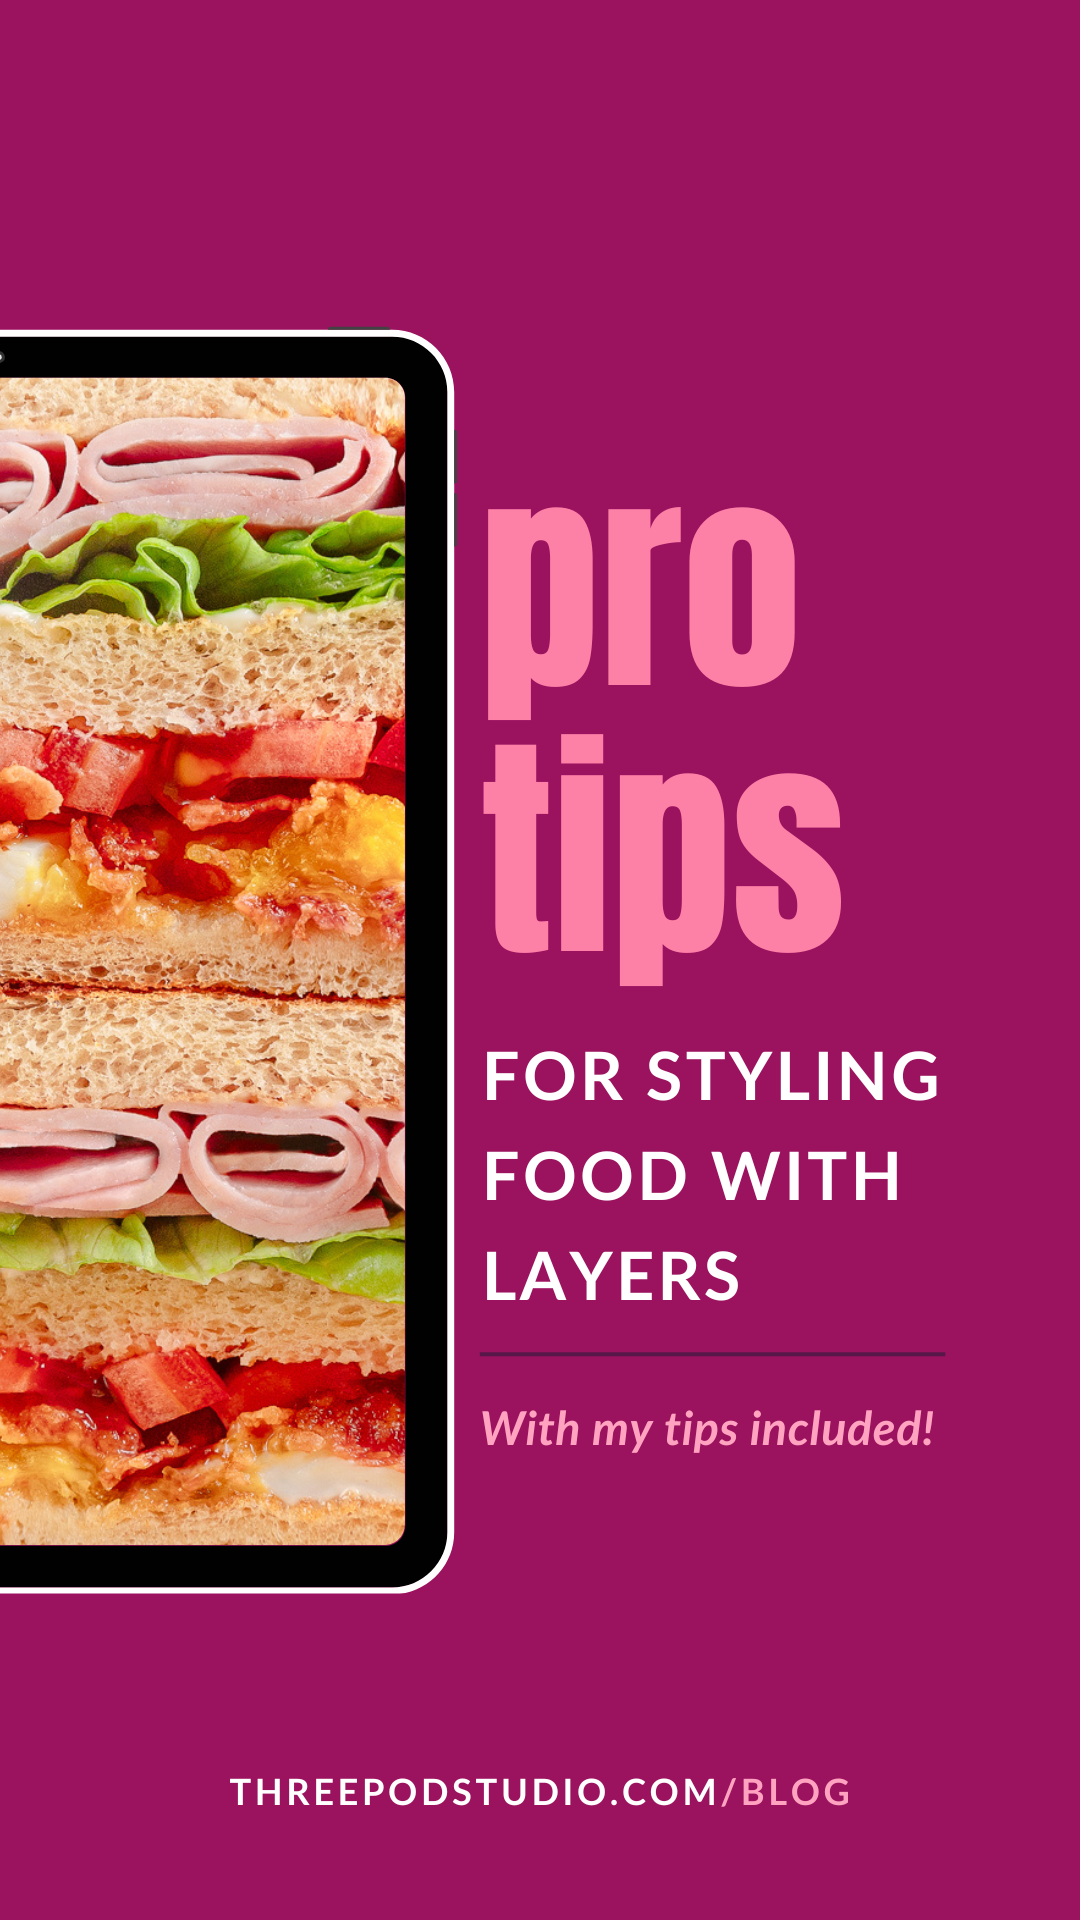
Layered dishes are visual gold—think towering burgers, stacked pancakes, elegant trifles, or loaded sandwiches. But making each layer look intentional, appetising, and camera-ready? That’s where the real styling magic happens.
In this Pro Tips episode, 41 creators and I share our favourite tricks for styling layered food. You’ll learn how to build height without collapse, create clean separation between ingredients, and show off those mouth-watering cross-sections.
If your next shoot involves layers (sweet or savoury) this post is packed with tips to help you stack with purpose and style.
Looking for more creative techniques? Browse more Pro Tips here.
What is their pro tip for styling food with layers?
Before you scroll any further, grab your favourite hot drink or smoothie, find a comfy place, and get ready to dive into this inspiring read!
" My go-to burger hack is to keep them in place with some skewers and melt the cheese a bit with a creme brûlée burner. "
Maaike Zaal - cocktail-, food- & product photographer
" I always start by choosing a 'side' that I will build, a.k.a. in addition to the hero burger, I will only concentrate on the side visible to the camera and build it from the perspective of the camera, so you want to discuss and decide this with the photographer before starting. With film, you want to see the beginning of the shot and also where the camera will end its movement so you know your 'safe' zone, where you can plant all your extras like props, fillers etc.
Even though one usually has to style burgers and sandwiches by building them on set, it's a fine line getting it right so it doesn't look plastic and too advertise-y. If you're at all starting to feel like it's becoming too perfect, trust your gut. Either start over or give your bun/burger a small pat/shake to relax things and then fix any parts that got too messy. "
Meri-Tuuli Väntsi - food stylist, chef, content creator
" When styling a burger or a sandwich, I use toothpicks to secure things in place, and focus on having all the ingredients peek in from the front. Carefully placed droplets of make things look extra juicy! I usually brush in highlights with some oil as needed, and add a spritz of water on the veggies. "
Jella Bertell - food blogger
" I use tissues, glue-tacks, sponges, sticks and toothpicks. "
Natasha Maria Putrianti - food stylist
" Styling sandwiches I use corrugated cardboard to build height and volume, and long tweezers to pull out lettuce, vegetables and deli meat, if used (& bamboo sticks to keep a high stack sandwich from falling.) For lighter meats, (chicken, turkey) I brush on “kitchen bouquet” brand gravy base to give a roasted look and color. I use glycerin and water combination on vegetables, like tomatoes and lettuce.
For casseroles, in order to keep “budget down” for client, I always used a facade on the bottom of the casserole dish so I don’’t purchase a lot of product for the dish. I use items that can be found at a craft store for the bottom of casserole, like Styrofoam blocks, lucite blocks, I then style on top of those to save on product (& time). For casseroles to brown the top I use mini Kitchen Torch to make top brown and bubbles. (& for heat look, I use my wardrobe streamer outside of shot on light to give off “hot steam of dish”.
Also: I have tons of mini tools in my styling kit. My rule is as long as the product/tool does the job very efficiently, effectively, and timely, I will use a mini tool. It allows me to bring a big, full of product/tool kit for less room. (BUT, I have the full size tools and some things like extra surfaces, extension cords, full size torch, things I really don’t think I will need, but I have just in case.) I use the “facade” method for salads as well.
For salads I use, clear holiday tree ornaments on bottom of large salad bowl. "
Bonnie Aunchman - commercial photo stylist
" Keep the camera in mind, style only one side, fix the layers with pins if necessary and carefully place these delicious sauce dripplings. "
Lenka Selinger - photographer & food stylist
" For casserole, if you want a perfect plated slice, line the baking pan with aluminum foil when baking, then once its cooled, remove the whole casserole from the baking pan and slice with a super sharp knife. Then bake the singular slice for a few minutes to bring back the melty look if there's cheese or heat-sensitive ingredients. "
Joanie Simon - photographer
" To display layers well, a 3/4 angle or straight-on from the front works better than bird’s eye viewpoint. Stand the hero food up nice and tall if it lends itself to this ie sandwiches, to give it some height and really show off the layers by repetition. Sometimes the stack may need help balancing. Pop a skewer through it, keeping it out of the line of sight , or prop it up from the back.
Or if it is a layered food that you can’t stack, or it’s in a dish, like a lasagne or cake, cut into it with a really sharp knife to keep the layers crisp and defined, then capture the layers with appropriate, lower camera angle. "
Krissie Oldroyd - food blogger
" For sandwiches, choose the angle that will be visible to the camera and then build the sandwich with that angle in mind. It may mean lots of toothpicks and cotton balls at the back of a sandwich. "
Julia Konovalova - food photographer & food stylist
" Here are two pro tips for effective food layering in styling:
- Contrast and complement: use ingredients that contrast in colour and texture to create visual interest. For example, layer creamy elements with crunchy toppings or vibrant vegetables with neutral grains. This not only enhances the aesthetic appeal but also adds depth and invites the viewer to explore the dish.
- Height and dimension: build layers with varying heights to create a more dynamic presentation. Stack ingredients like grains, proteins, and vegetables in a way that adds elevation. Using small bowls or ramekins for certain components can also help to achieve this effect, making the dish look more inviting and exciting. "
Nisha De Silva - food/beverage photographer & stylist
" For cakes, make sure the fruit is fresh. I try to buy the fruit the day of or the night before. Some fridges will be so cold that the fruit will start to shrivel up. It's good to make the cakes the night before so that they are completely cool before styling. Also to revive mint, place it in ice water.
For burgers, you brush a little oil on the side before you get the picture so it's appears shiny and juicy. I like to place the top of the bun off to the side a bit to show the burger patty and its texture. "
Kristina Cadelina - food blogger & photographer
" Photograph at a low angle / straight on. Layer in hidden cardboard or those skincare foam wedge things. "
Nikki Jones - photographer
" Toothpicks and makeup wedges can be a godsend for food with layers. "
Kirby Mekler - photographer & food stylist
" Well, this can get really tricky. If you're working with a food stylist, you have an advantage. If you're working alone - you'll learn it in the hard way.
Sometimes if you're making a sandwich or a burger, it can be helpful to use toothpicks, or even paper, or my absolutely favorite makeup sponges - to create more space between the different ingredients.
In other case you have to consider to photograph the ingredients separately and then combine them in Photoshop. Just make sure to clean all the "non product stuff" in post production. "
Anna Ilieva-Alikaj - photographer
" Keep them in a good shape is a must! Know the material of your food, their weight, their fragile part (like cheese, egg, and etc.), and be prepared for the worst situation by always having a backup hero.
When it comes to professional techniques, I believe, people already spread the info over the internet. So, your experience, and knowing your food you handle is a plus point. "
Fatula Waluyo - food stylist
" Layers are all about planning and structure. It’s important to know how each ingredient performs beforehand: some greens stay "fresh all night" - like those party-goers who shine, while others, not so much! 😂 I also use sticks, toothpicks, or hidden supports to keep everything stacked just right, and I always have my camera angle prepped! "
Irina Lopik - photographer, prop stylist

© Irina Lopik
" Layers are pretty challenging. I love to watch photos of food with layers and at the same time I wonder how those pictures are done. It is very hard to cut something so nicely that the cutting surface remains sharp. When I want to show the layers, for example when shooting a tortilla wrap I do add some of the ingredients after cutting it to get it look better.
When shooting a sandwich with many layers, sometimes I use a cocktail stick to maintain the structure.
When shooting a cake, I usually cut slices and put those on plates. Then when I take a photo, the layers are seen in many ways. In the cake itself and on the plates. If the cake is soft and I cant cut nice slices, I add some berries or chocolate sprinkles to cover the errors. "
Aino-Kaisa Sihtola - food blogger, vegan cookbook author, chef

© Aino-Kaisa Sihtola
" Just posted a ginormous sandwich a few days ago. Loved the process. In that case, I planned the products carefully to have that rainbow gradient. Fixed everything everything with a ton of toothpicks. And there is the light - it's that thing that always has to reveal what is important, the colours, the textures - all the visuals of the food. If the lighting is not set well, the food will loose of its impact. "
Milena Ugrinova (Mim) - photographer
" Head-on, up close shots are always a favorite of mine. A good macro lens, such as a 100mm, allows you to get up close to the layers and shoot an interesting composition. "
Audrey Marie Bufalini - photographer
" Styling burgers is an intimidating task, but just making it layer by layer with toothpicks and being very generous with the salads and other stuffings makes the base. Some planning ahead to what comes on what is advised. I try to have contrasting colours next to each other and use colourful ingredients like radishes with lettuce. Precise working with the sauce/mayo is also important so you don’t get it all over the place. Use a bottle with small hole. Remember to keep ingredients fresh in a cold water bath or so. Add shine to buns with oil. There is a short timespan on keeping things looking extra fresh, so try to work swiftly. Have the sauces rather on the thicker side to avoid them running too thin. "
Päivi Leino - photographer, blogger
" I use a lot of pins and toothpicks. Each layer gets secured before I carefully move it with a spatula. "
Suzy Eaton - food stylist
" Skewers are game-changer! They will hold any layers of burgers, cake or sandwiches. Also I usually style food only from the front. I don't really care how its looking like from the behind as long as I'm taking front pictures. "
Kristina Struharova - product photographer, videographer
" Always use fresh veggies for burgers and sandwiches and use toothpicks to properly place them in the right place so they don’t move. "
Basil Hashmi - still life photographer
" My jar with little wooden skewers is my best friend to prevent something like a burger bun to get to flat. A skewer between each layer to hold it up, but especially for the top half of the bun to hold its place. If that is not enough, I also sometimes use little pieces of cardboard to prevent the burger to collapse. "
Anoeska Vermeij - food photographer
" Cutting it and taking my time to clean every layer with “printer cleaners” and make up sponges. "
Karen Loza - food photographer & stylist
" Use a lot of amazing textures and vibrant colors! Make sure every element can be distinctly seen. Buy a lot of toothpicks or skewers lol. "
Austin Claire Hackworth - photographer
" A sub is the trickiest to stylize in my opinion as it is long therefore time consuming but here are some key tricks that can be useful.
- Select the best looking bottom and top part of the sub preferably without wrinkles and the perfect amount of sesame seeds on top (if applies). The bottom and the top does not have to be necessarily from the same bun. It's best to grill the top and bottom parts to make sure it's dry enough to hold the weight and avoid bread crumbs getting mixed with the ingredients.
- Use mashed potato inside the bun so the additional ingredients can be stuck one by one.
- Use toothpicks to insert the ingredients and something short and heavy to hold the sandwich in the back in case it starts leaning backwards or forward due to the weight. I use a lot of tissues and toothpicks in this process .
- I make sure to stylize the sandwich from the same angle as the camera will shoot the sandwich (45 degrees, 0 degrees or a negative angle) using an elevation I got from IKEA which happens to be a breakfast tray table.
- Add the water droplets onto the lettuce and tomato if the sub is not supposed to be grilled and add the sauce last using pipettes or mini squeeze bottles. "
Henriett Braun - food stylist
" I use toothpicks to keep sandwich and burger layers in place. When layering a sandwich, place the ingredients in a way that adds color, texture, and beauty. "
Emily Miller - photographer, recipe developer, blogger

© Emily Miller
" When photographing a hamburger, the angle is crucial to showcase those gorgeous layers. Use a type of lettuce or greens that add texture and don’t look flat in the photo. Ensure the tomato slice looks juicy and fresh — wet it with a bit of water if needed. Add the sauce last, applying small drops here and there with a mini piping bag. Create an elegant mess, as it shouldn’t look overly staged. Brush some oil on the bun and/or meat if needed to give it a fresh, appetizing appearance. "
Kata Endrődi - photographer
" Styling food with layers is all about showcasing each component in its best light while keeping the structure stable and visually appealing. For complex setups like these, I typically collaborate with talented food stylists who bring their expertise to the table. However, over the years, I’ve picked up a few tips and tricks from working alongside them that I’m happy to share:
- Use spacers for structure: to give layers definition and keep them visually distinct, card stock or foam spacers (hidden from the camera) can work wonders. These provide subtle support without drawing attention to the mechanics behind the shot. This trick is especially helpful for tall foods like burgers or sandwiches.
- Stabilize with toothpicks: when working with tall, wobbly layers, toothpicks are a lifesaver. They keep everything aligned and secure while adjustments are made. Just be sure to remove or hide them before capturing the final shot—no one wants to see the scaffolding!
- Tweak details with precision: tweezers are indispensable for layered food styling. They allow for precise adjustments, whether it’s repositioning a rogue lettuce leaf or ensuring even spacing between cake layers. Small tweaks can make a big difference in the overall presentation.
- Add condiments with care: sauces and condiments bring layers to life, but they can also be messy. Once the structure is built, syringes can be used to add condiments exactly where they’re needed. This method ensures clean, controlled application without disturbing the layers. "
Joanna Wojewoda - photographer
" The layers should stand out with each and every ingredient of the food visible.
Working with burgers and sandwiches is slightly easier since you can prepare them right before the shot and to your requirement, it is more of an assembling of ingredients.
With cakes/desserts, they are mostly prepared in advance and sometimes we do not get the luxury of clean and prominent layering, specially working with a cut slice, even the shape or edges can be lost. One can use post production here and make them look clean. "
Abhishek Khanna - food photographer & stylist
" My biggest tip is to view each layer individually first and focus on how to make it shine.
So let's say I need to shoot a burger featuring a brioche bun, a patty, a tomato slice, lettuce, and pickles. I would make sure the brioche bun is even and beautifully formed without dents or rips. I would also make sure that it slightly glossy since brioche breads always are. I would then pay close attention to the patty to ensure that it is nicely grilled with char and that it looks juicy. The tomato slice would be nice and thick and bright red. The lettuce would be curly, looking fresh and maybe have a few drops of water on it (I use a mix of water and glycerin to help the drops keep their shape). Lastly, the pickles would also have a nice thickness to them.
This way each layer will be very distinct and appealing in its own right, making the final dish very appetizing. If the burger features sauces, I would make sure the sauce is coming right up to the edges so that the viewer can quickly and easily identify it."
Murielle Banackissa - food photographer, food stylist, blogger, cookbook author

© Murielle Banackissa

© Murielle Banackissa

© Murielle Banackissa
" This type of assembly doesn’t pose much difficulty. The only (and very important) thing to keep in mind is that no ingredient you add should obscure the ones below it. All ingredients must be instantly recognisable at first glance. "
Oscar Sanz - food stylist
" Casseroles need garnishes over top and in the portion of the cross section. Showing off the inside of casserole, I keep a few whole cooked ingredients to the side and stuff than back in to better showcase what the dish is made with.
Burgers and pancakes I like to use folded parchment paper, toothpicks and/or foil to give the stacked items more volume and stability. "
Anisa - photographer, recipe developer
" Don't squash the layers. Build the food specifically for the image rather than how you might make it in the kitchen. This is especially important when it comes to sandwiches or anything else that you may press down on when cutting into it. "
Jane Coupland - photographer, content creator, blogger
" Be patient.
I find layering foods challenging because it's a very time-consuming exercise that requires a fundamental understanding of time-sensitivity, logic, physics, and often very quick problem solving.
Since I'm working with restaurants a lot, often times when the burger comes out of the kitchen, that's the way it is. However, on the odd occasion that I'm styling a burger specifically for a very important hero campaign, I'd require a variety of tools such as tongs, brushes, oils, each ingredients cooked and prepared separately, usually cool and not moist, and a lot of stability. "
Kera Wong - creative
" I use small props like toothpicks or tweezers to keep everything stable, and make sure they plate and anything below is balanced well and flat. "
Shwetha Elaina - food photographer & stylist
" What I keep in mind with layers is volume. You can use different techniques such as pieces of cardboard to insert between each layer, toothpicks to hold the elements and prevent them from crushing. "
Constance Ibañez - food photographer, culinary event host
"
- Use a ring mold or shaping sets: the rings tightly wrap around the food and help prevent the ingredients from falling apart. When making a layered dish, like a casserole, using a ring mold ensures that each layer is neat, even, and stable.
- Thick sauces and creams: When preparing a layered dish, like lasagna, make sure the sauces aren’t too runny. The thicker texture of creams, sauces, and cheeses will help keep the layers stable.
- Certain types of food, like sandwiches, can be secured with a toothpick or skewer. The pins help hold the layers in place. If you’re working with vegetables or meats, it’s important to have stable ingredients in between the base layers to prevent the different parts from slipping. "
Liliána Tóth - food photographer
© Liliána Tóth
" When it comes to burgers, I prefer to stack all the ingredients on one side and leave the other side empty. For cutting cakes, I use a blow torch to heat a knife, which allows me to slice through the cake smoothly and achieve perfect layers. "
Marika Cucuzza - food photographer, recipe developer, content creator
" If there are many layers, it is important to apply styling techniques that helps us avoid our hero from collapsing. I like to use skewers as construction elements between vertical layers, or cardboards below fillings/toppings if the crust of the bun or cake is super soft and the fillings/topping would sink in too much. Finally, I secure the positions of the ingredients using T-pins.
Consider positioning these helping items in a way, that they do not cause future problems when you need to cut/spoon into the layered food hero."
Reka Peurala - photographer, stylist, recipe developer, mentor
Photo by © Reka Peurala - Three Pod Studio

