
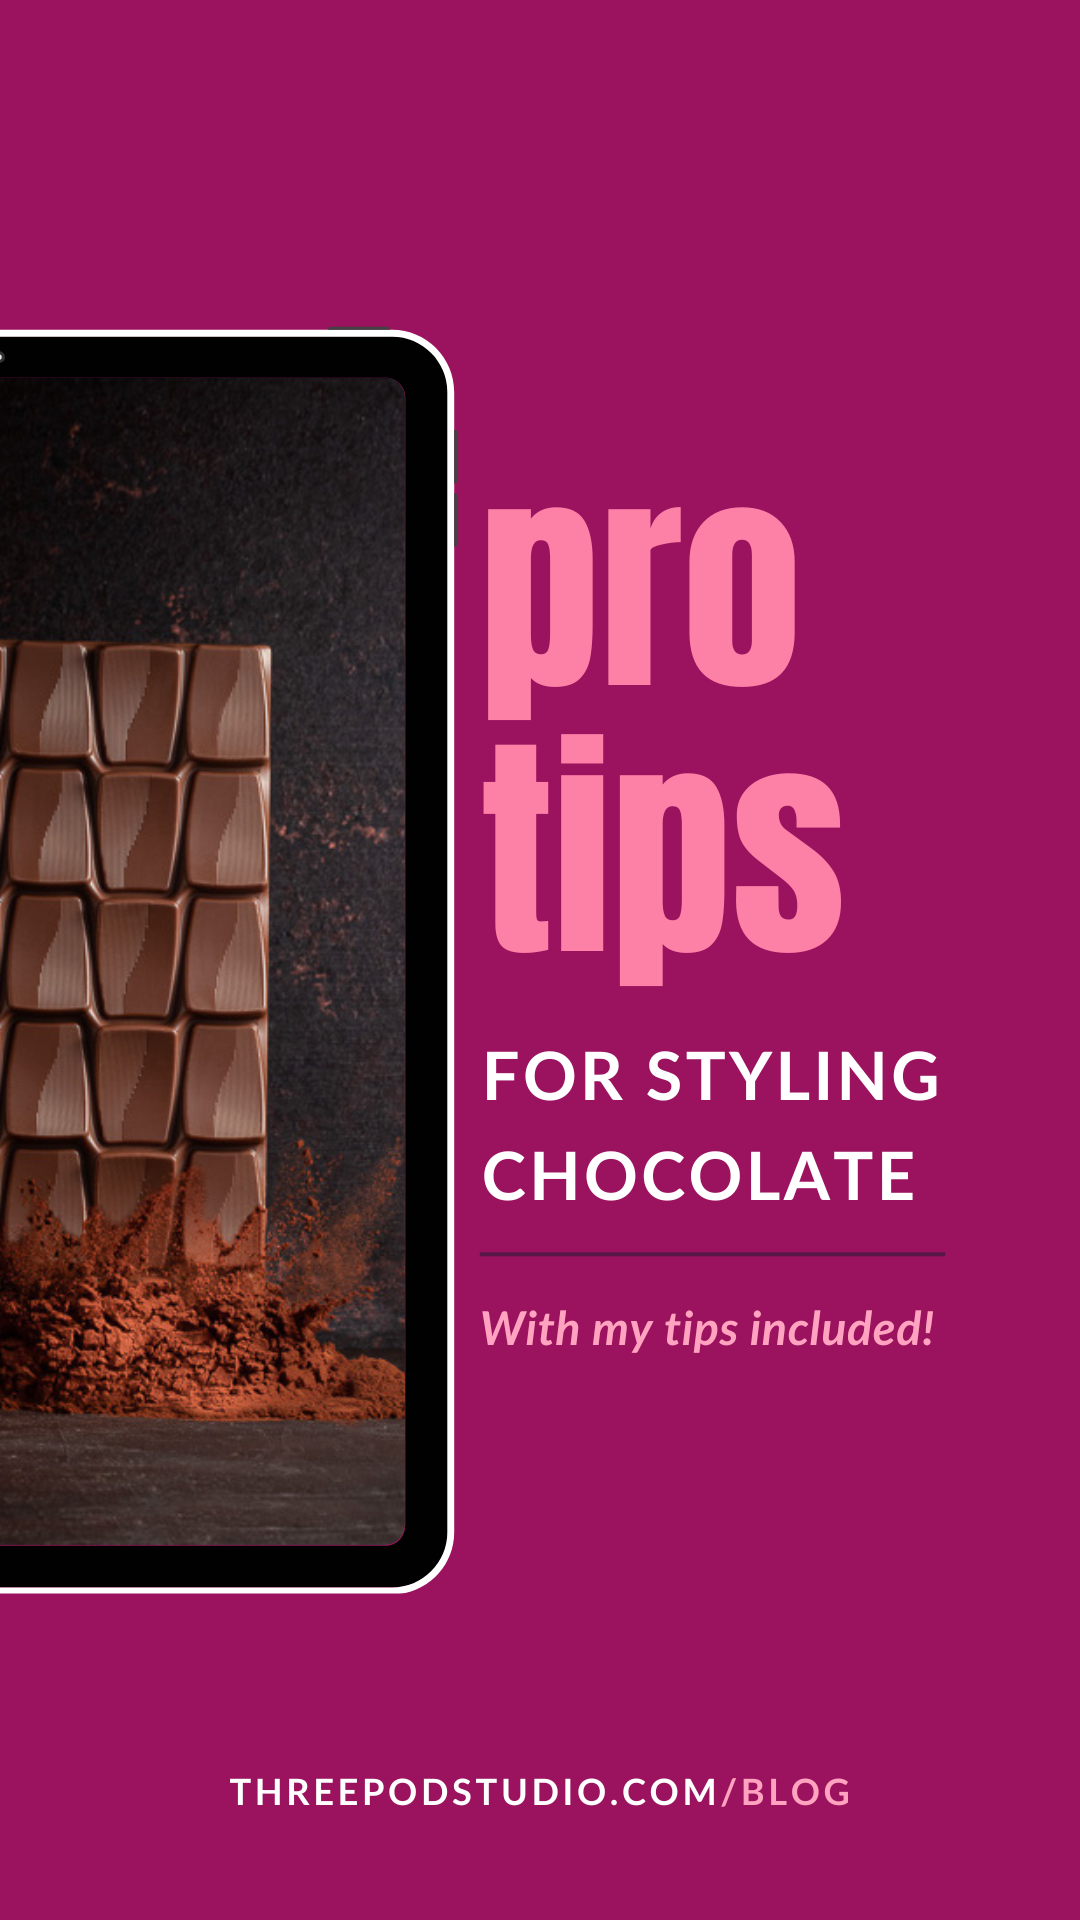
Chocolate: smooth, glossy, melty, and... maddening. It’s every food stylist’s best friend and biggest diva. One wrong move, and that perfect bar turns dull, dusty, or sticky in seconds.
In this Pro Tips edition, 34 creators (plus me) unwrap their favourite chocolate styling hacks. Whether you’re working with truffles, ganache, shards, or drips, you’ll find solutions to your most melt-prone styling challenges. Expect real tips from real sets - how to handle chocolate bars without smudging, keep the shine, and create textures that practically break the internet.
Curious what else we’ve covered? Check out all Pro Tips episodes here.
What is their pro tip for styling chocolate?
Before you scroll any further, grab your favourite bar and get ready to dive into this inspiring read!
" Make sure the temperature of the chocolate and the room is right so it won't look discolour and look unappetising. You can melt the chocolate a bit with a creme brûlée burner so it looks moist. "
Maaike Zaal - cocktail-, food- & product photographer
" Best to shoot in cold weather (speaking form experience here, if it's too hot, not even gloves will prevent your fingers marking the chocolate), only touch with gloves, play with the angle and lights to make it shine. "
Lenka Selinger - photographer & food stylist
" Have a heat gun or Searzall nearby to add heat to the chocolate right before you take the shot so that it has some nice shine. There's nothing better than a nice warm melty chocolate chip on a cookie. "
Joanie Simon - photographer
" Top tip, if a little niche, is for chocolate chip cookie styling; get a kitchen blow torch and melt the chocolate chips on the tops of the cookies just before photographing.Hello, melty, shiny deliciousness! Game changer! "
Krissie Oldroyd - food blogger
" I always like to make sure I have extra chocolate on hand just in case. If I'm drizzling a stack of bars, I always like to practice first on a plate to check the consistency. To revive chocolate chips in cookies, I like to use a dab of vegetable oil to get the shine back. "
Kristina Cadelina - food blogger & photographer
" I like to grab a variety and create different shapes and sizes by breaking it up. "
Nikki Jones - photographer
" Be careful - chocolate can melt and smudge easily. Gloves and styling tweezers can be helpful. "
Kirby Mekler - photographer & food stylist
" For good result we all need a good product. Pay attention to the storage. If the chocolate has been stored in the fridge, it's possible that it has white streaks or that is covered with small drops of water. Let it warm slightly at room temperature and dry it very carefully using a soft cloth (that is not paper). When I'm photographing chocolate I'm careful not to touch it with my hands, because fingerprints remain on the surface and are difficult to remove. I wear latex or plastic gloves, and trying to avoid touching the product in the "face". "
Anna Ilieva-Alikaj - photographer
" Wear gloves - the last thing you want is fingerprints. "
Hadeel Magdy - food stylist & photographer
" Make them shiny is the challenge. So, you need to know details like the character of the chocolate you're working with, how many % cocoa they used in the bar, praline, etc., and what else did they add to it. Just make sure, the chocolate has the temperature that is enough to be shiny, but enough to be melted. "
Fatula Waluyo - food stylist
" Chocolate is another time-sensitive food to shoot. Its condition changes quickly: from hot to cold and from shiny to dull. So it’s all about precision, timing, and testing. When working with chocolate, you need to experiment a lot because factors like sunny or rainy days, as well as studio humidity, can significantly impact the final look. Additionally, chocolate often requires good lighting and a lot of post-production, so it’s wise to consider this from the beginning when providing an estimate. "
Irina Lopik - photographer, prop stylist
" If I want the chocolate to stay melted in the picture, I heat also the bowl and other elements that are in touch with the chocolate. A bit of melted margarine will make it more shiny.
Also if you want to use grated chocolate in a photo on a hot summer day, you can freeze some of the items that you use in the picture. "
Aino-Kaisa Sihtola - food blogger, vegan cookbook author, chef
" Yummy questionity. The trick is in the texture - bars or melted, it has different response to the light. If you want to melt it in front of the camera, you'll need good quality chocolate. The cheeper one doesn't melt, it burns terribly. "
Milena Ugrinova (Mim) - photographer
" A heat gun is your friend! To get that "just out of the oven" look, I hit my chocolate chip cookies with a little heat to melt the chocolate before I take the shot. Just be mindful of the surface you're shooting on - a lot of vinyl surfaces will warp when exposed to high temperatures. "
Audrey Marie Bufalini - photographer
" Texture always looks good on any food photo, so instead of having a clean, even surface, add chocolate shavings, cacao powder, sugar or melt the chocolate on some part. The shine on melted chocolate…"
Päivi Leino - photographer, blogger
" My biggest pet peave is, when I see chocolate that has bloomed or is all scratched up in a photo. It's so easy to take a stray and blow on the chocolate to smooth out any of those things. "
Suzy Eaton - food stylist
" When working with chocolate bars or pralines, place them on a contrasting surface (like a dark plate or marble) to make the shine pop. "
Noora Väänänen - content creator, food journalist, photographer & stylist
" Every time I take pictures of chocolate I try to use melted chocolate as much as possible. Everything looks more yummy this way. But I don't usually use REAL melted chocolate I usually mix cacao powder with little bit of milk to create thick consistency and pour it whenever it's needed. "
Kristina Struharova - product photographer, videographer
" Clean the chocolate! Make up sponges so it doesn’t look “whitewashed”. "
Karen Loza - food photographer & stylist
" Gloves are your best friend to avoid fingerprints! "
Austin Claire Hackworth - photographer
"Always use gloves to avoid fingerprints. Make sue the chocolate is the right temperature and it has not melted (living in hot climates it can be a challenge therefore we use a lot of cooler boxes, ice packs, ice or dry ice). Make multiples of each item and select the perfect pieces to shoot. It's best if the chocolate is melted above hot water stirring it continuously or using a Bain Marie to keep it warm. Adding a small amount of oil or coconut oil will keep the melted chocolate shiny and keep the viscosity right. Adding melted cocoa butter (5% of the melted chocolates' weight) helps the chocolates' glossy finish, it doesn't interfere with the tempering process and it ensures a smoother flow perfect for pouring or dipping. "
Henriett Braun - food stylist
" Gently use a clothes steamer to warm the chocolate and create shine right before you take the photo. "
Emily Miller - photographer, recipe developer, blogger

© Emily Miller
" Gently heating the surface of the chocolate will add a beautiful shine. Lighting is key - I love using soft light on chocolate. "
Kata Endrődi - photographer
" Styling chocolate is a delicate art that requires careful handling to showcase its luxurious texture and rich appeal. Whether working with bars, pralines, chocolate chips, or melted chocolate, attention to detail is key. Here are some tried-and-true tips for achieving stunning chocolate imagery:
- Add a touch of sheen: A slight sheen can make chocolate look even more indulgent. Use a hairdryer on a low setting to gently warm the surface, creating a subtle, camera-ready gloss without melting it.
- Embrace post-productionEven with the best preparation, chocolate can be tricky to perfect in-camera. Post-production can be a lifesaver for refining details and enhancing the overall image."
Joanna Wojewoda - photographer
" For any type of chocolate that is meant to be kept whole (chocolate chips, callets or bar), I "oil up" my chocolate with a drop or two of neutral oil then massage it in to give the chocolate a glossy appearance that makes it a lot more appetizing."
Murielle Banackissa - food photographer, food stylist, blogger, cookbook author
" Chocolate is one of the most difficult products to work with. For example, a chocolate bar will only allow you to give it a slight matte shine by applying a bit of heat, but not much more. To sum up, either you master a chocolatier’s techniques, or you should run away as fast as you can. "
Oscar Sanz - food stylist
" Melted chocolate is my favorite to work with and can go from delicious to looking like something very not delicious quickly. A side backlight gives enough highlights and texture for melted chocolate to look like chocolate and not something else.
Generally whole chocolate (bars, bonbons/truffles etc) look good with any light or mood. It depends on what you want for that image. My advice it to play around because chocolate is very forgiving. "
Anisa - photographer, recipe developer
" Look for chocolate with interesting embossed patterns. It can be beautiful in it's own right. "
Jane Coupland - photographer, content creator, blogger
" Use gloves, and a hairdryer or blow with a very low but warm function.
The biggest things about chocolate is the finger prints so I always wear gloves when handling it. The other thins, is that it can look quite matte (intentional for most ambient chocolate products). However, for some products like a doughnut with a glossy chocolate look, a blow of warm air can make the chocolate very shiny. "
Kera Wong - creative
" Handle chocolate with gloves to avoid fingerprints! ( Yes!! those pesky fingerprints turn up in the shot, lol!) "
Shwetha Elaina - food photographer & stylist
" I use gloves to avoid making footprints and play with the textures : melt, crumbles etc.. Brown color can also be tricky to style but I like to pair it with blue props and styling. "
Constance Ibañez - food photographer, culinary event host
" If you want to use melted chocolate, be careful not to overheat it, as it can form a greasy film on top. Use the double boiler method (bain-marie) to control the heat more effectively. The chocolate should always remain silky and preserve its color and texture.
The texture of the chocolate is what truly makes the photo exciting. The surface of the chocolate, its cracks, drizzled chocolate streaks, or chocolate shavings all contribute to the dramatic effect. The chocolate looks its best when the light softly glides over the surface, highlighting its fine details. Strong lighting can create harsh effects and take away from the chocolate’s delicate, silky appearance. Diffused lighting helps bring out the chocolate’s rich, smooth texture while avoiding harsh shadows. "
Liliána Tóth - food photographer

© Liliána Tóth
" I like to use makeup brushes to style chocolate; I believe they are the perfect tool for eliminating imperfections while preserving the chocolate's shape. "
Marika Cucuzza - food photographer, recipe developer, content creator
" I like to start preparing chocolates. Depending on the softness of the chocolate, brushes may leave tiny scratches on the delicate surface - so whenever I can, I dust the pieces off using a manual air pump (the one I use to clean my lenses/sensor) or gentle compressed air. Chocolate sculpture makers often use cold spray to accelerate the process of setting melted chocolate - these sprays are equally handy on set! "
Reka Peurala - photographer, stylist, recipe developer, mentor
